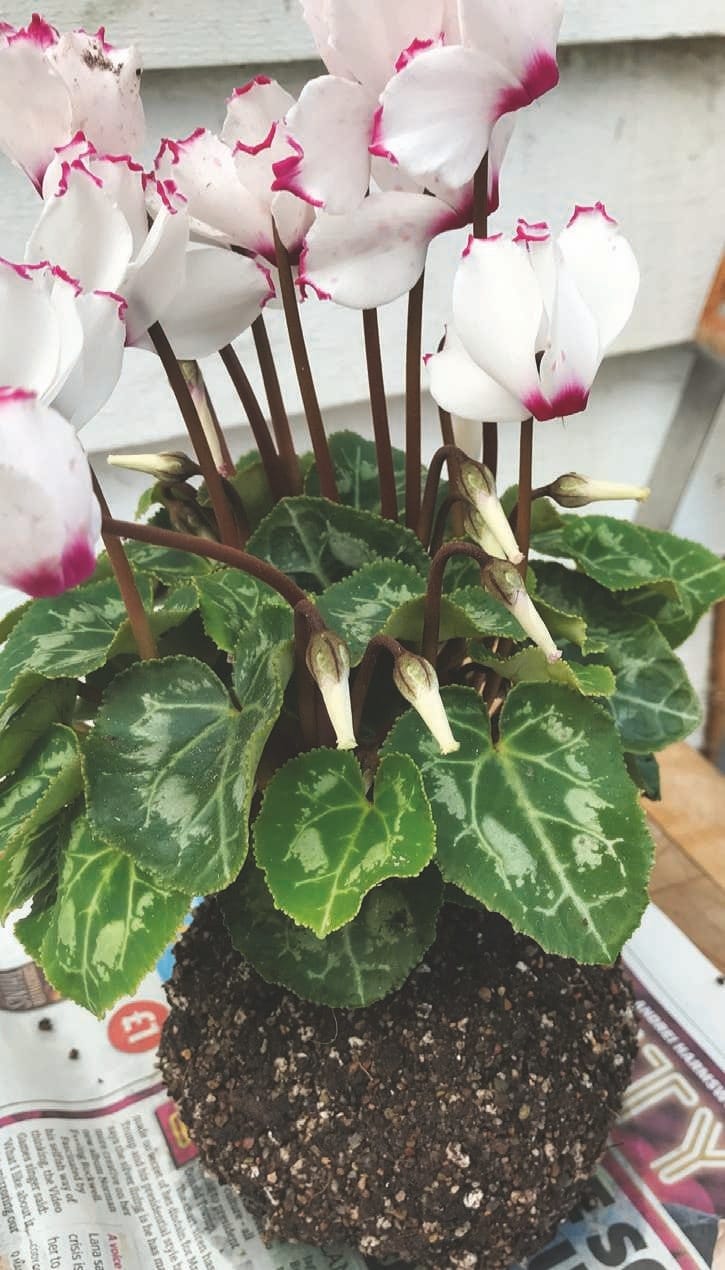
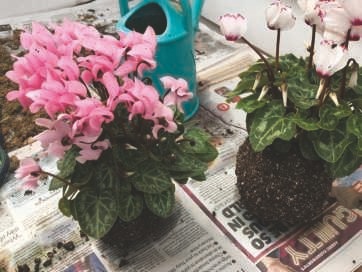
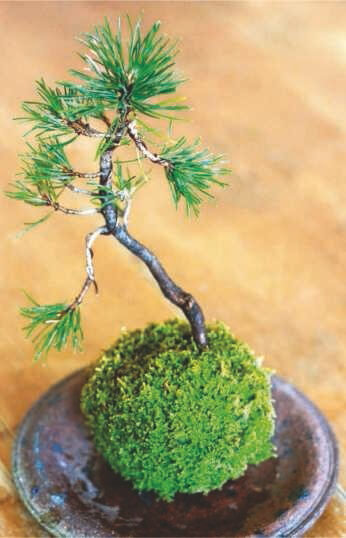
Kokedama is a traditional Japanese art evolved from bonsai. It is a process of wrapping a plant’s roots in moss and string. The kokedama can then be placed in a bowl, upon a plate or hung up to create an interesting and unique talking point. Why not try a cyclamen for the festive table, or an orchid to hang in your home or as a beautiful gift for a loved one? It’s a great way of showing off vintage crockery, too!
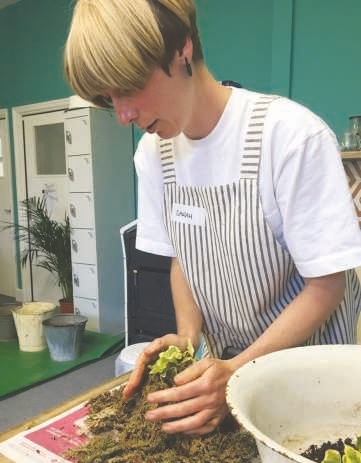
As well as creating something sensational, the process of moulding the moss with your hands is a very meditative and calming activity. Couple that with the great feeling you get when you’ve successfully made your kokedama, and this is the ultimate feel-good craft for this winter!
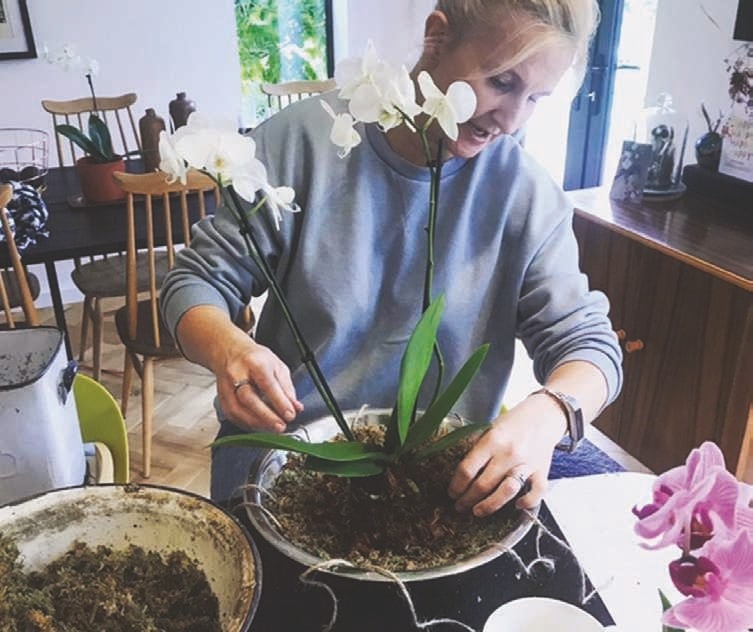
Most plants can be used for kokedama, but some are trickier to work with than others and their requirements will be different depending on where they grow in the natural world. Orchids are a great plant to use as they love to hang. This is how they would grow in the wild, their roots attaching to trees and rocks. An orchid kokedama will be happy out of direct sunshine, hanging in a north or east facing room; a bathroom is perfect!
Cacti and succulents are also good plants to use. Being drought-tolerant means that they will require less watering. They will need direct sunlight and heat though, so hang or place your finished cactus or kokedama in a sunny window.
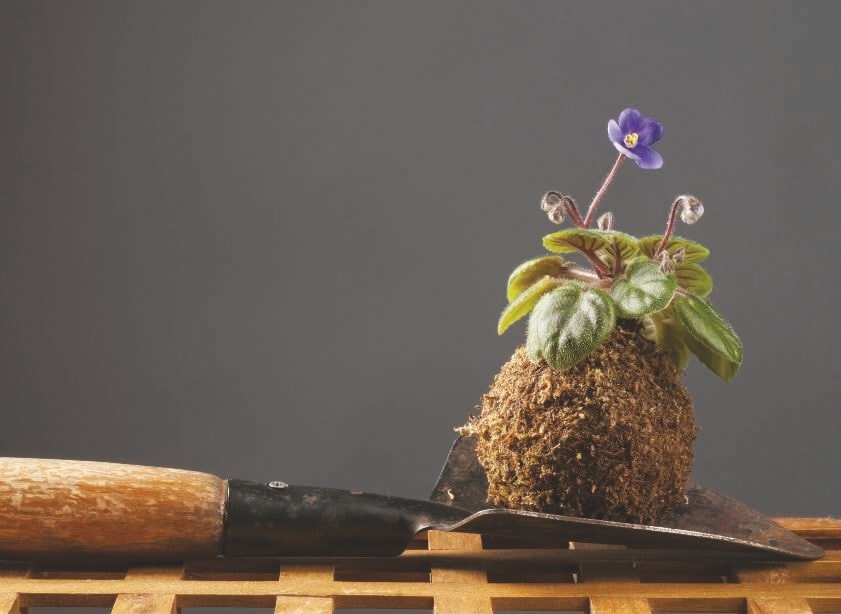
The smaller the plant, the better for beginners, as it’s easier if you can get your hands around the roots to create the moss ball.
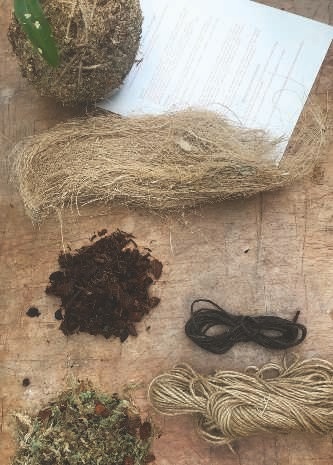
What you will need
- A small plant: cactus, succulent or orchid
- Moss – renewable sphagnum moss (sold for hanging baskets). You can also use sheet moss and other fancy mosses. Wet with water until malleable.
- Soil – for orchids use orchid compost, for cacti and succulents use cactus compost
- Perlite – from garden centres (for cacti and succulents only)
- String – natural twines are perfect. Natural string will decay quicker in wet environments, so man-made strings are best used for ferns etc.
- Coir or coconut fibre (this is optional for orchid kokedama only)
- Bowl, newspaper, scissors and a jug of water
Kokedama Workshops
If you’d like to have lessons in kokedama or treat a friend to a class, look out for my workshops held at The Hive co-working space, Umbrella Centre, Whitstable, or contact sarah@thegardencreative.com for details and private classes.
If you have been inspired to make a
kokedama and share your results on Instagram, Facebook or Twitter, please mention @thegardencreate.
www.thegardencreative.com
Recommended Reads
There are several great books available with tips, advice and inspiration including:
Hanging Kokedama, by Coraleigh Parker
Moss, by Ulrica Nordstrom
The Inspired House Plant, by Jen Stearns
Making your Kokedama
1 Cut four lengths of string approx 60cm long and tie together in the centre. Place the knot in the centre of a bowl and arrange the strings across the bowl like a spider.

2 Spread a thick layer of moss on top of the string so it fills the bowl, and press down. Enjoy the process of feeling the natural materials in your hands. Use water to wet the moss to a workable consistency. It needs to be able to be moulded into a ball.
3 On top of the moss, add a layer of your chosen soil or compost.
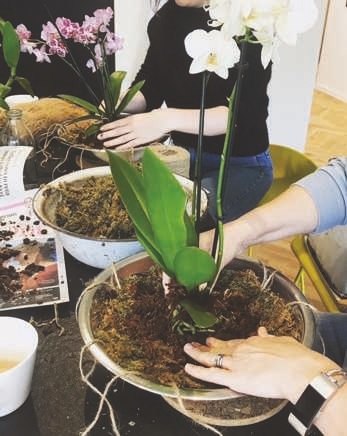
4 Gently remove your plant from its container and tease the soil away from its roots. Place the plant gently on top. Add more compost around the plant, covering the roots.
5 Cover the top of the plant with moss and press firmly into place.
6 Taking opposite strings, tie knots at the top of the plant as firmly as possible. Now you should be able to remove the plant from the bowl. You can tie more string around it to keep the moss attached. Use your hands to shape the ball by squeezing gently but firmly and wrap the string by winding it around the ball as much as you need to secure all the moss in place. The ball should be firm and tight by the time you’ve finished wrapping. At this point you can stop and keep your ball wrapped in moss, or for orchids you can add a layer of coconut fibre or coir. This will secure the orchid and create a humid atmosphere for the roots, while still allowing water to drain away from the ball.
7 Spread a layer of coir on the newspaper and use your hands to wrap it around the ball. Secure with string by winding or wrapping it around and tying knots.
8 Trim excess moss/coir and strings with scissors to create a neat ball.
9 When you’re ready to tie your hanging string, choose a strong cross-over of string on the ball about two-thirds up towards the plant. Using the end of the scissors, tuck the end of a long piece of string under this cross-over and tie in a knot. Do the same on the opposite side, checking that the ball hangs how you want it to, before tying and trimming the ends.
You have finished your kokedama… Feel proud, you did it!
Water it when it’s too dry; once a week is preferable for orchids, less often for cacti. Give it some plant food in the spring to keep it looking its best. Water by running the whole ball under the tap and leave to dry in a bowl before hanging back up, or plunge into a bowl of water for ten minutes then remove and hang to drip dry.